QUIXX ACRYLIC SCRATCH REMOVER
Part Number: QA1
On Promotion

QUIXX ACRYLIC SCRATCH REMOVER
Part Number: QA1
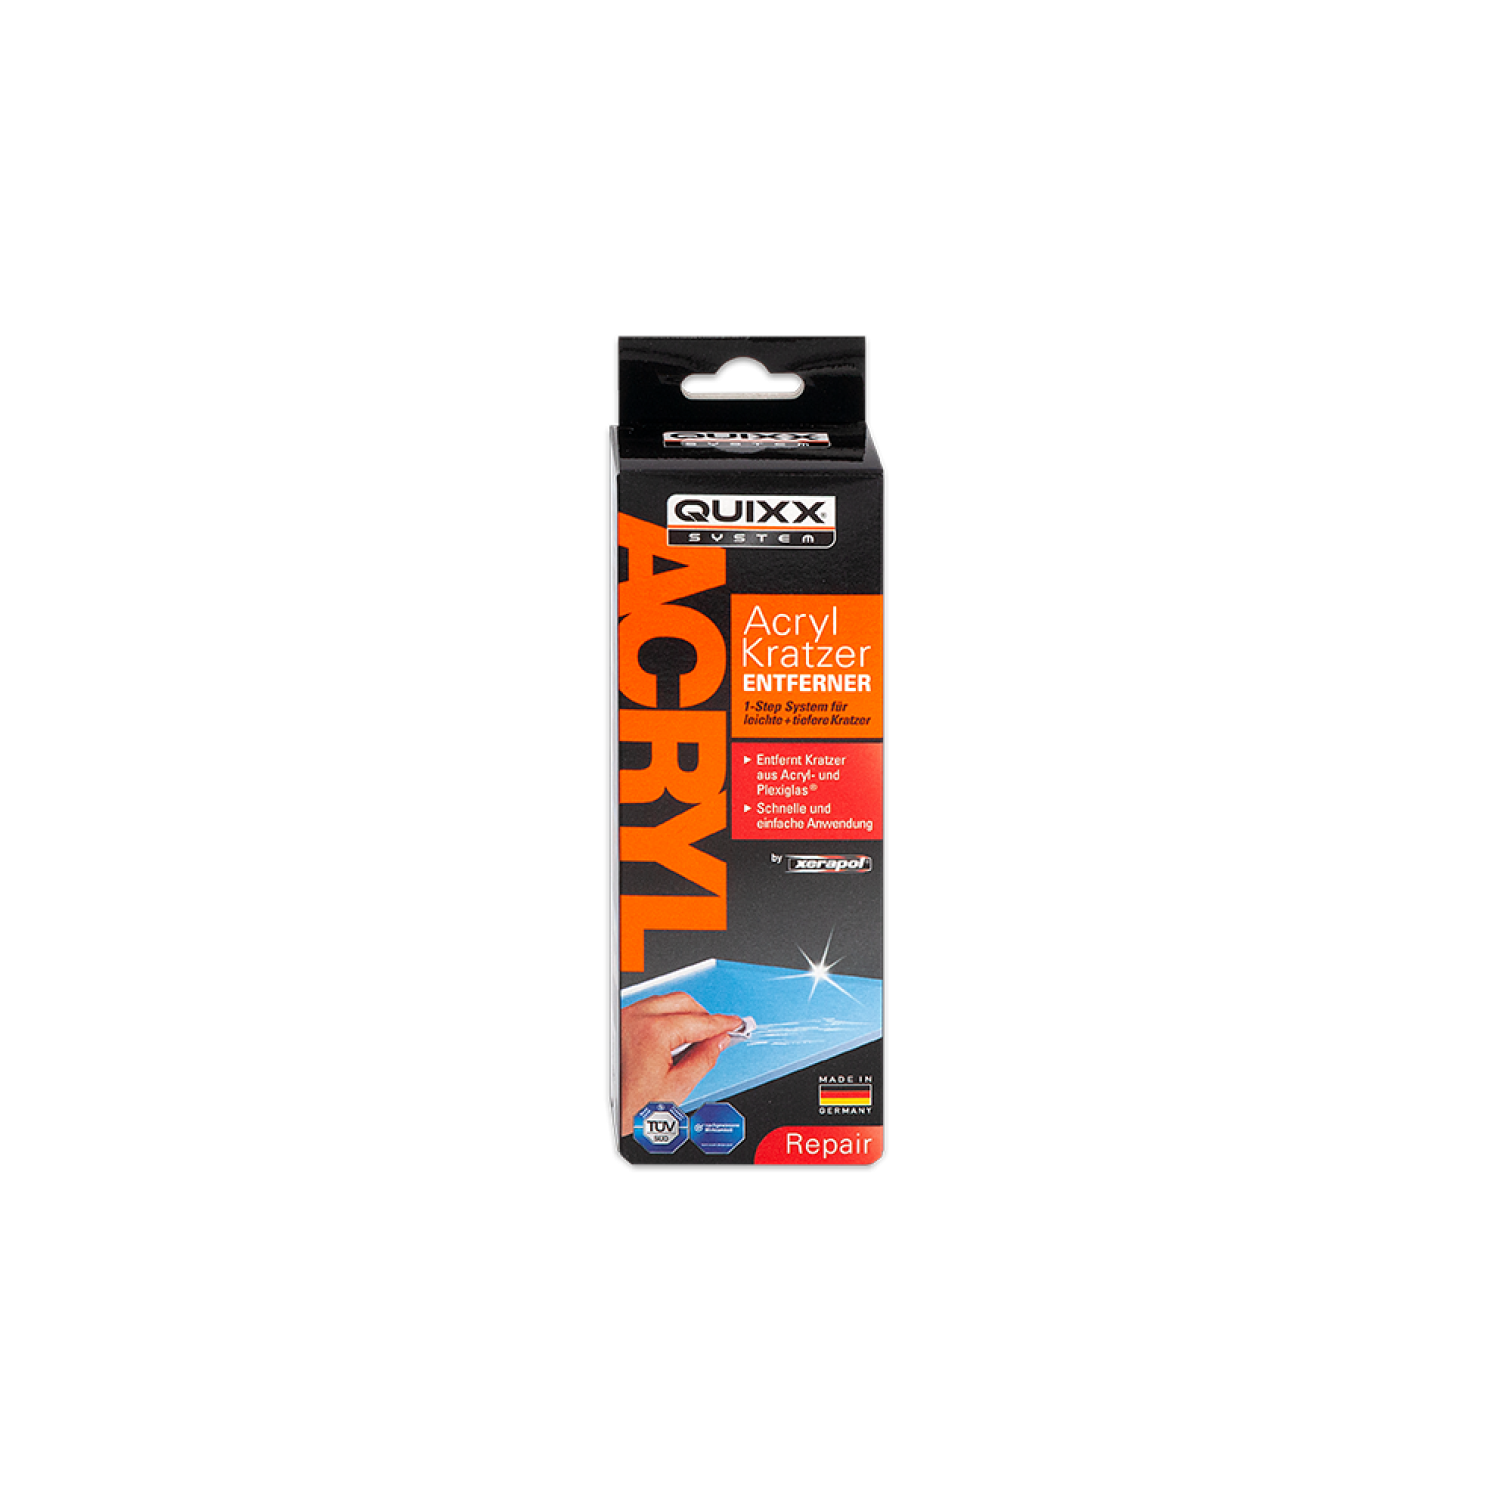
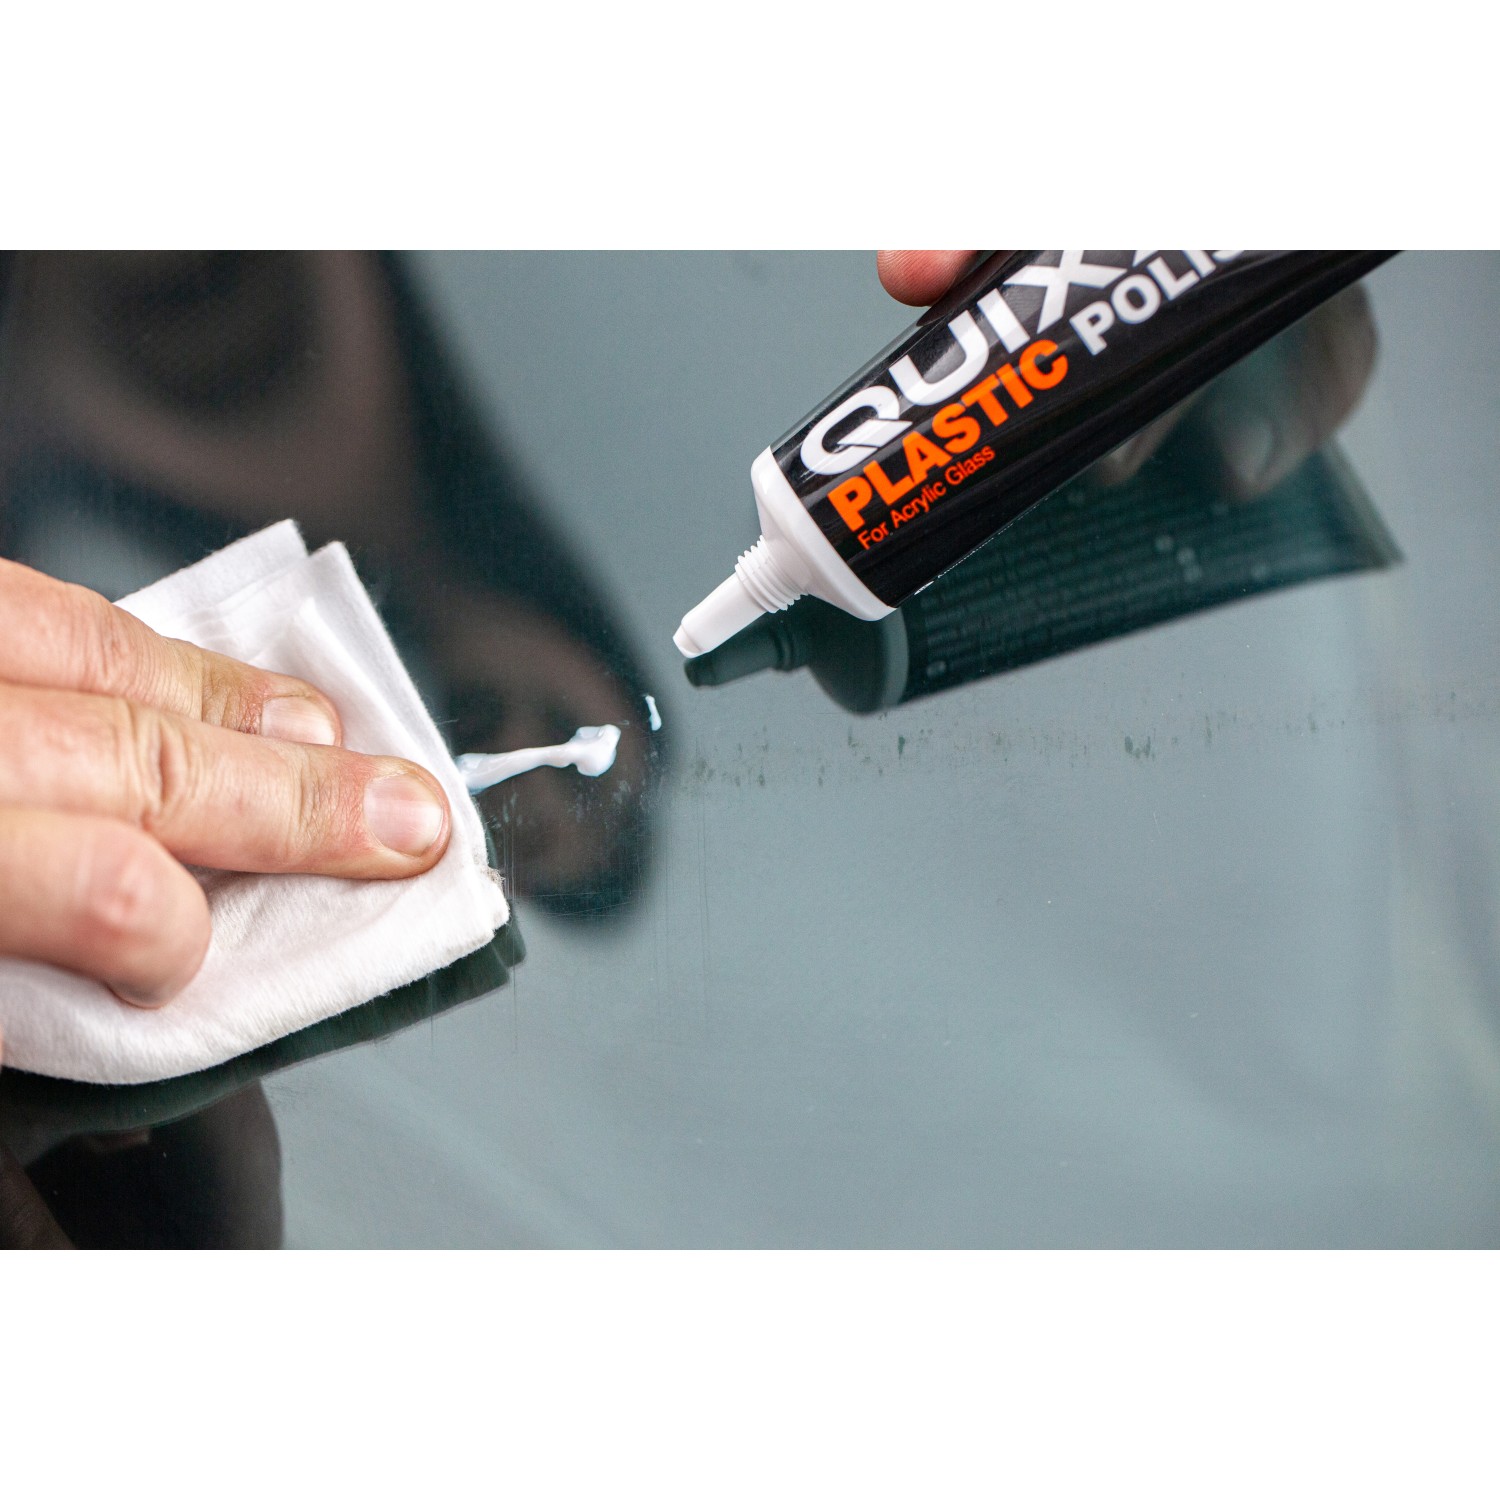
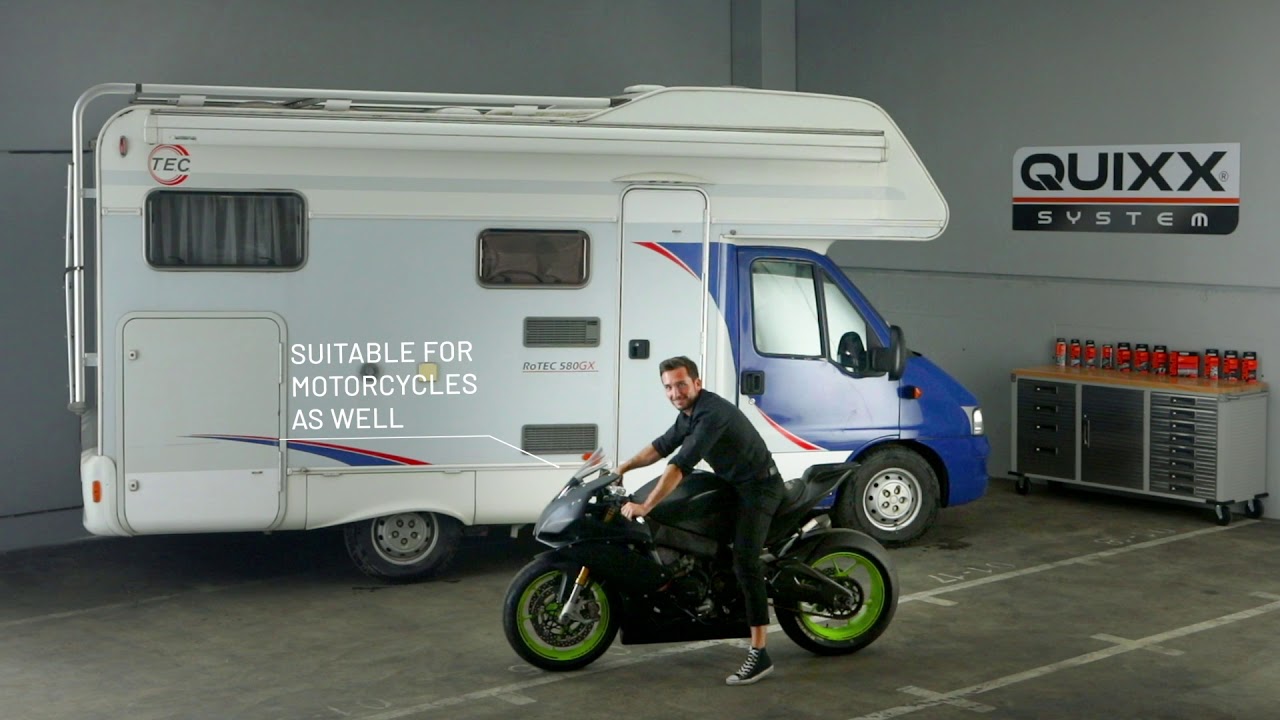
QUIXX Acrylic Scratch Remover is a true all-rounder: It reliably removes scratches from acrylic and Plexiglas surfaces on cars, motorcycles, caravans, boats and household objects such as furniture and acrylic baths or washbasins. The Acrylic Scratch Remover is also effective for removing scratches and scrapes from speedometer covers, motorcycle windshields, motor home side window and superficial damage on boat hulls. The result: Professional quality results. Enhanced efficacy through QUIXX Plastic Deformation Technology (PDT).
RRP
£14.99
Product Details
REMOVES SCRATCHES - from acrylic and Plexiglas surfaces of the car motorcycle caravan boat furniture etc
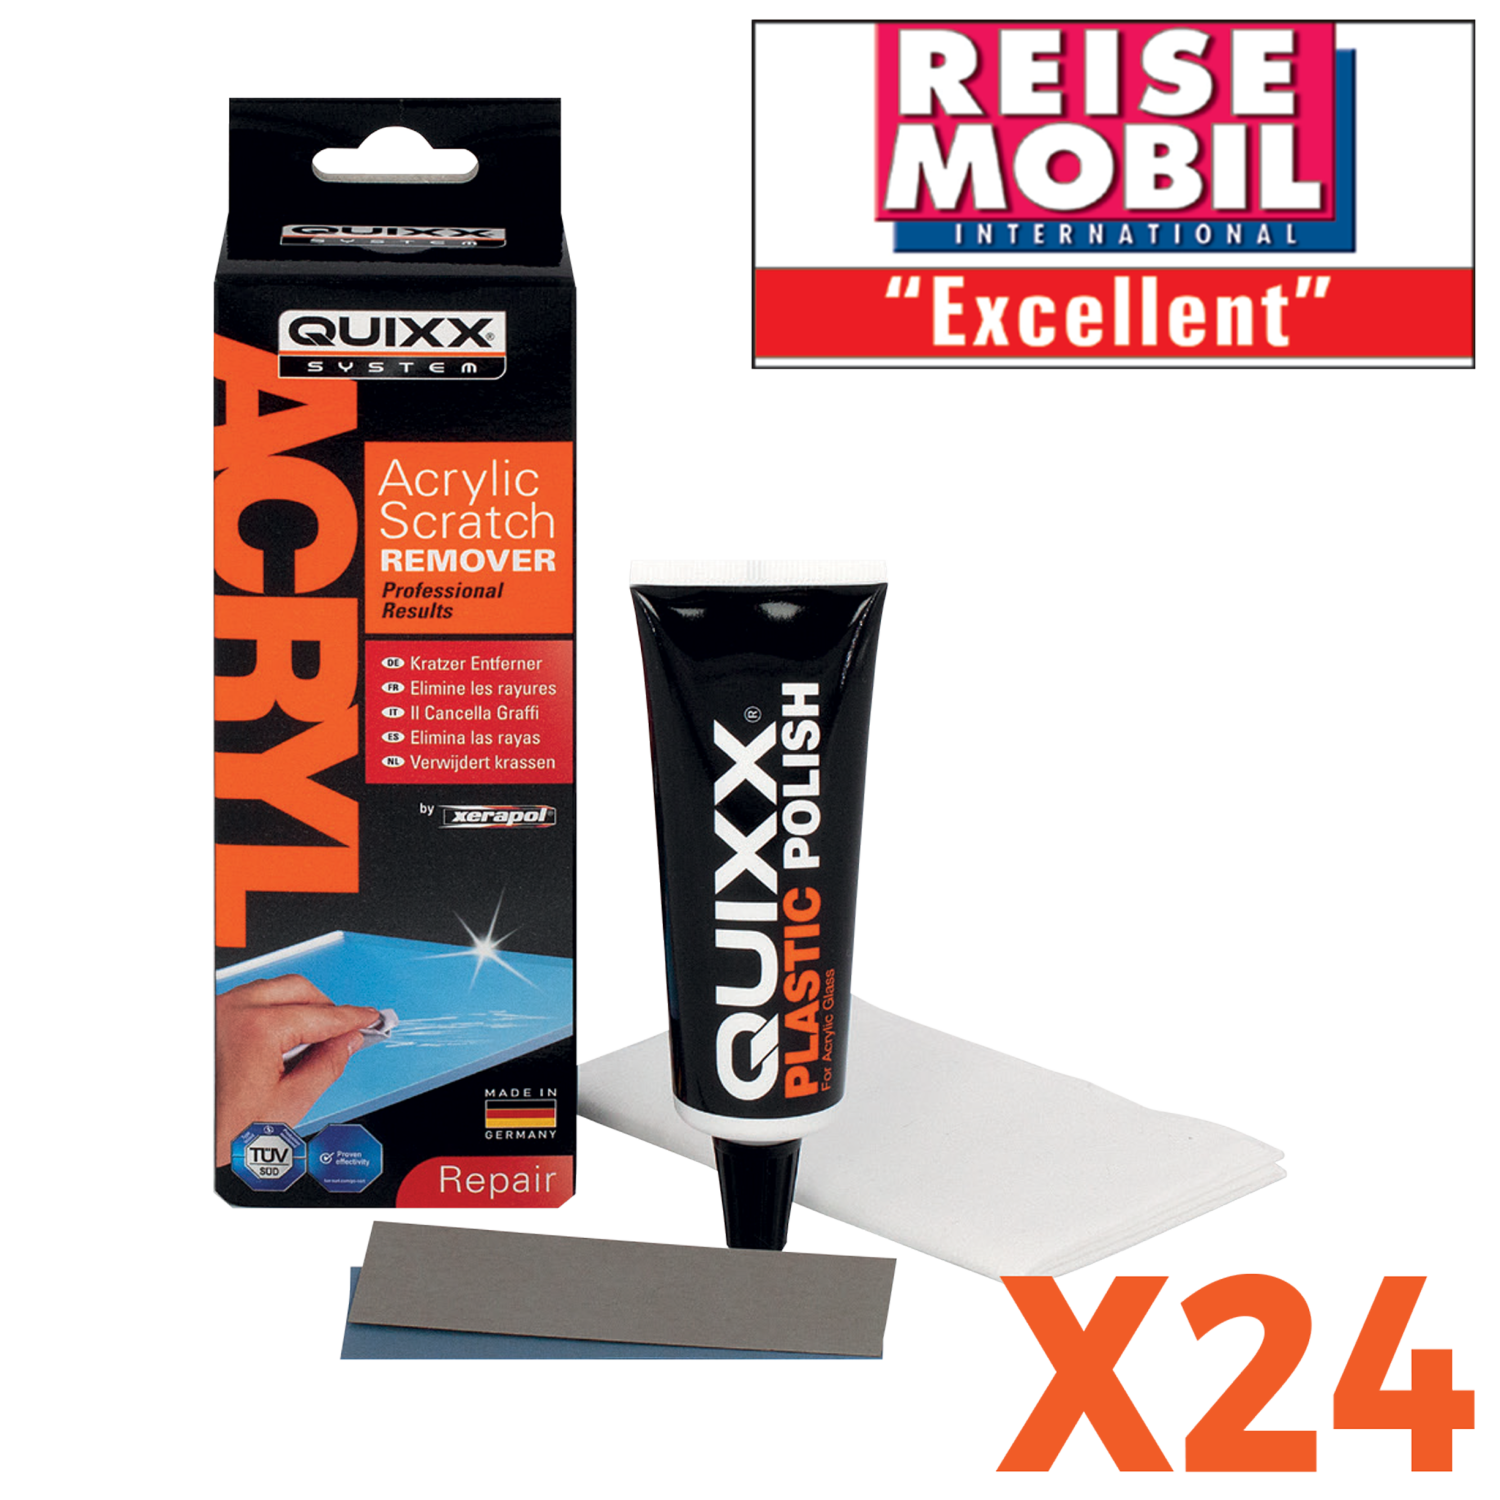
SERIES WINNER - of product tests in international trade journals TÜV certificate for proven effectiveness
EASY AND QUICK APPLICATION - All-inclusive kit contains everything required for application Superior effect due to PDT (Plastic Deformation Technology)
NUMBER 1 - Proven millions of times and the No 1 globally under the acrylic scratch removers!
INCREASE VEHICLE VALUE - Application saves expensive repairs and provides value retention
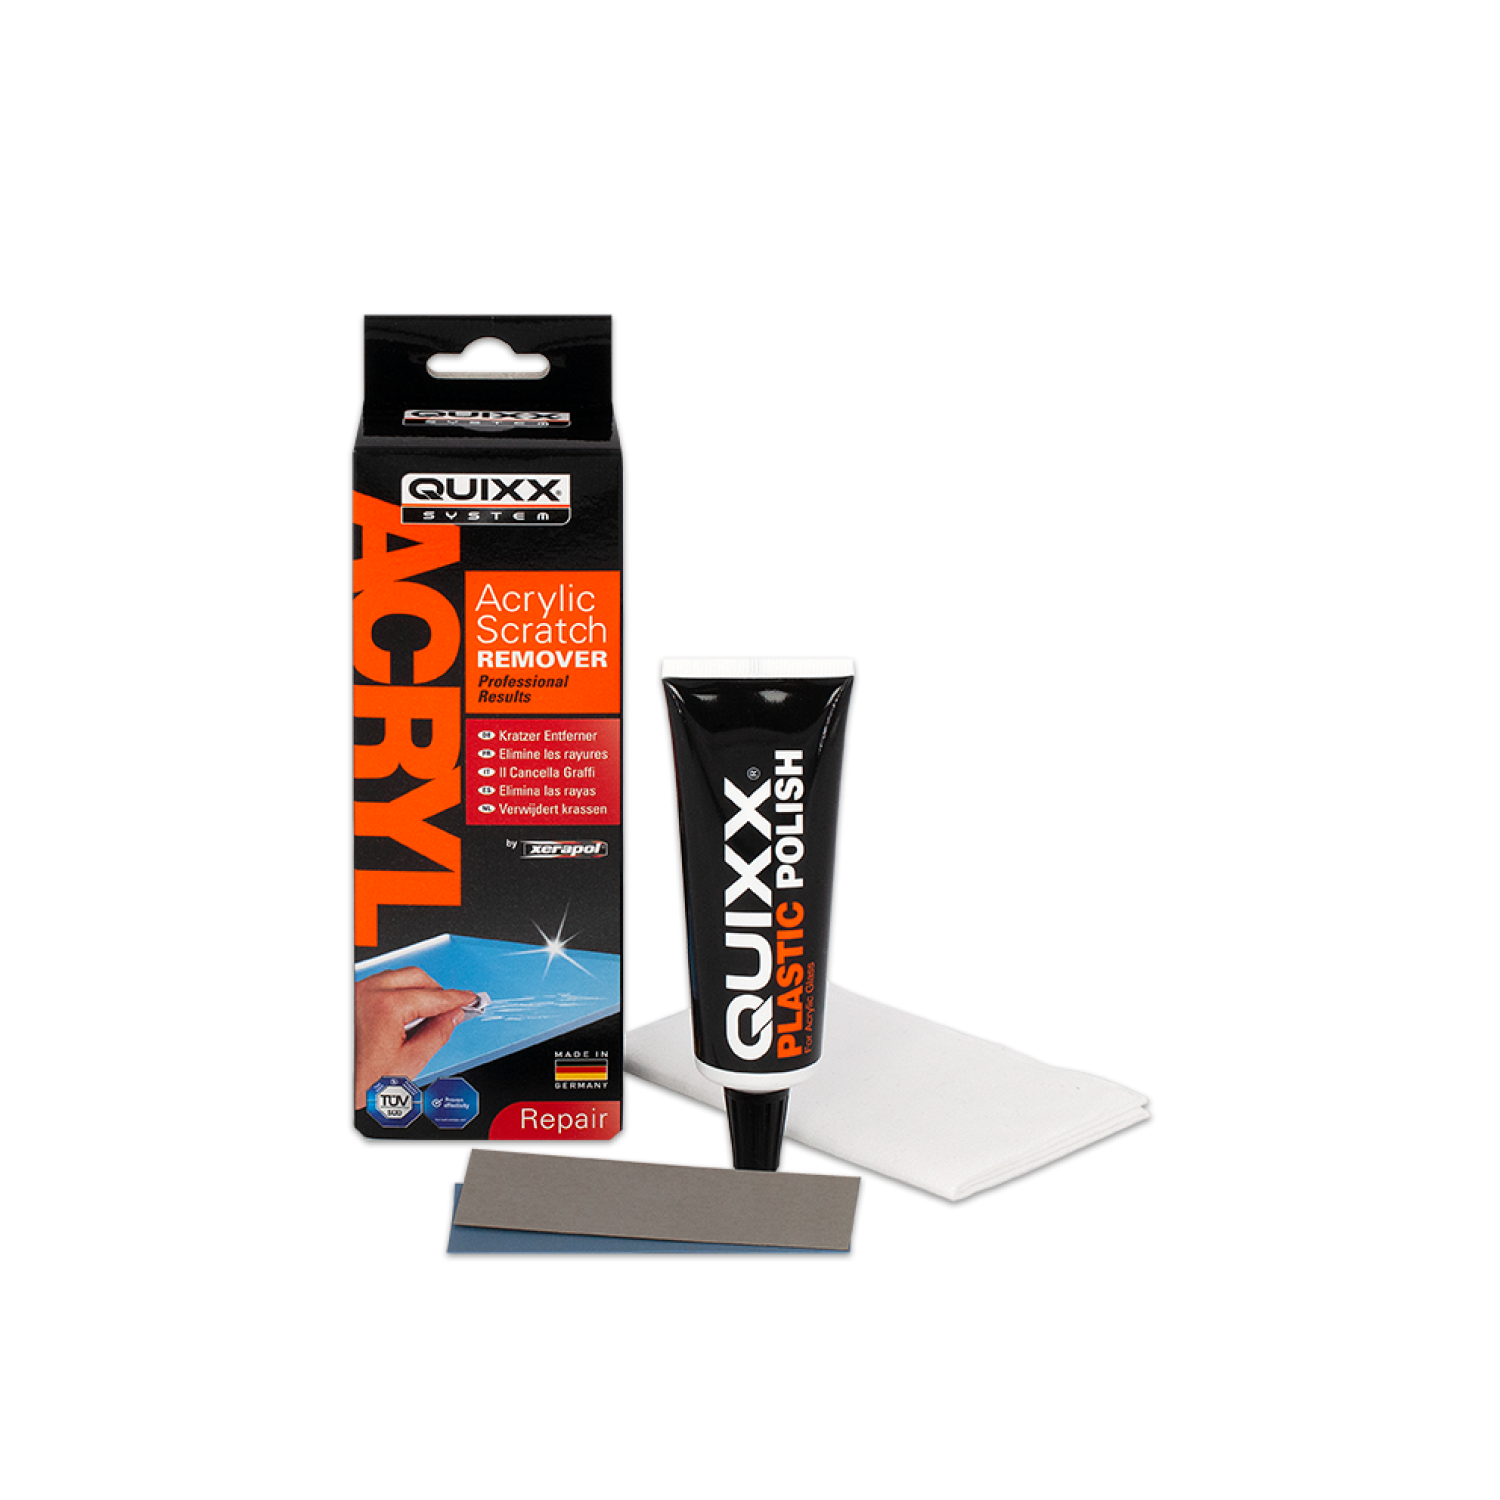
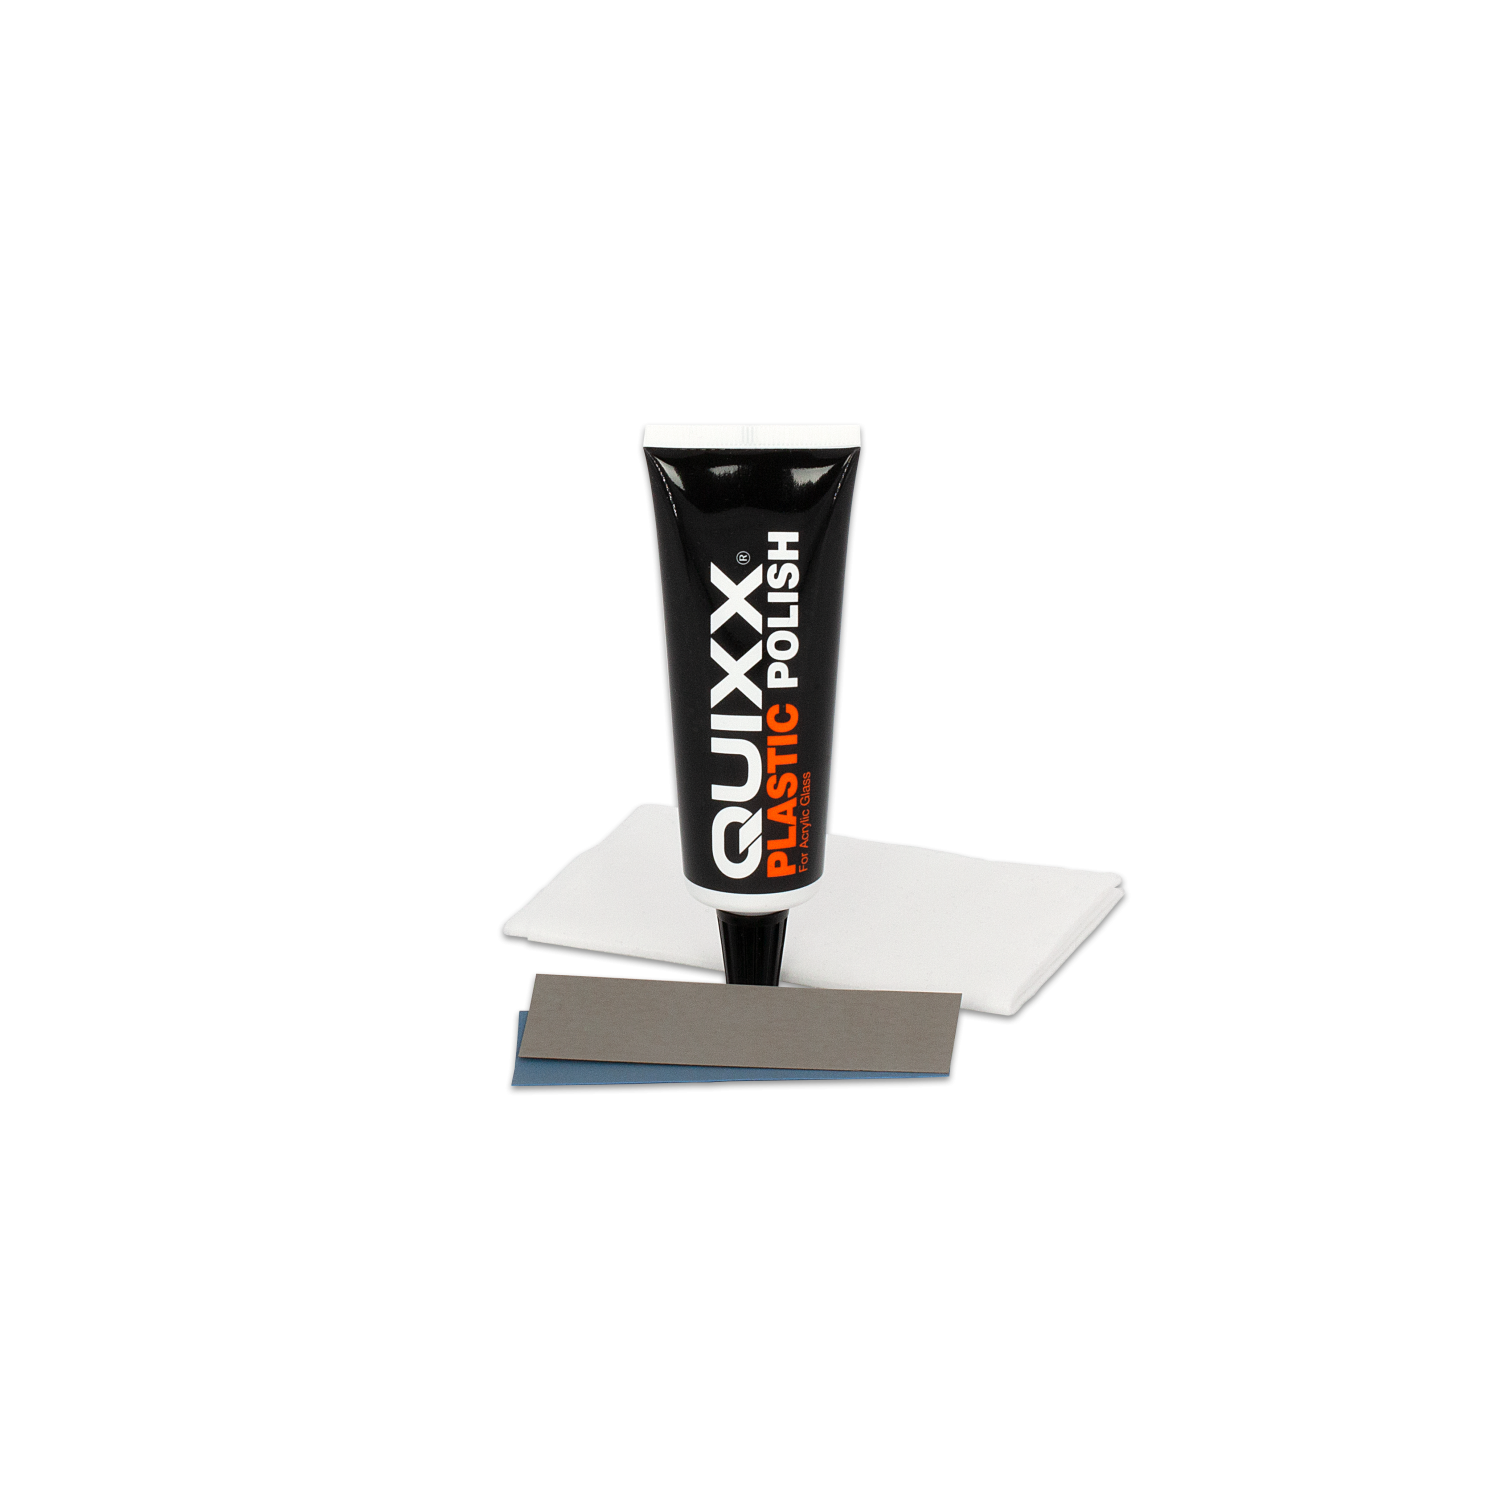
Let's get started: The all-inclusive kit contains all the utensils you need for making repairs.
Contents: Plastic polish, 1 professional polishing cloth and 1500 sandpaper
Made in Germany
Product Specifications
| Product Data | |
| Brand | Quixx |
| Package Length | 20.6cm |
| Package Width | 6.5cm |
| Package Height | 4cm |
| Package Weight | 84g |
| Country of Origin | GERMANY |
| Commodity Code | 3405300000 |
| Barcode | 4028778002060 |
Product Downloads
Check Out The Video Content!

